Visitors to the office often remark on our pride and joy, the Lego table. After the initial “Ooohs” and “Aahhs” have died down, guests generally ask, “So why did you build a Lego table in the first place?”
Any one of us is always happy to inform that here at Fuzzy Math we believe in supporting office initiatives that generally involve a combination of fun and research. After the success of our wearables project, we wanted to share our most recent big internal project: the journey of creating our Lego table, along with some tips and tricks in case you’re in the market for a unique challenge.
As our move to the new office was approaching last summer, we were brainstorming ideas of how to make our new space feel more like home.
We ideated over four main principles:
- Not the center of attention
- Interesting to look at
- Something unexpected
- Is functional in some way
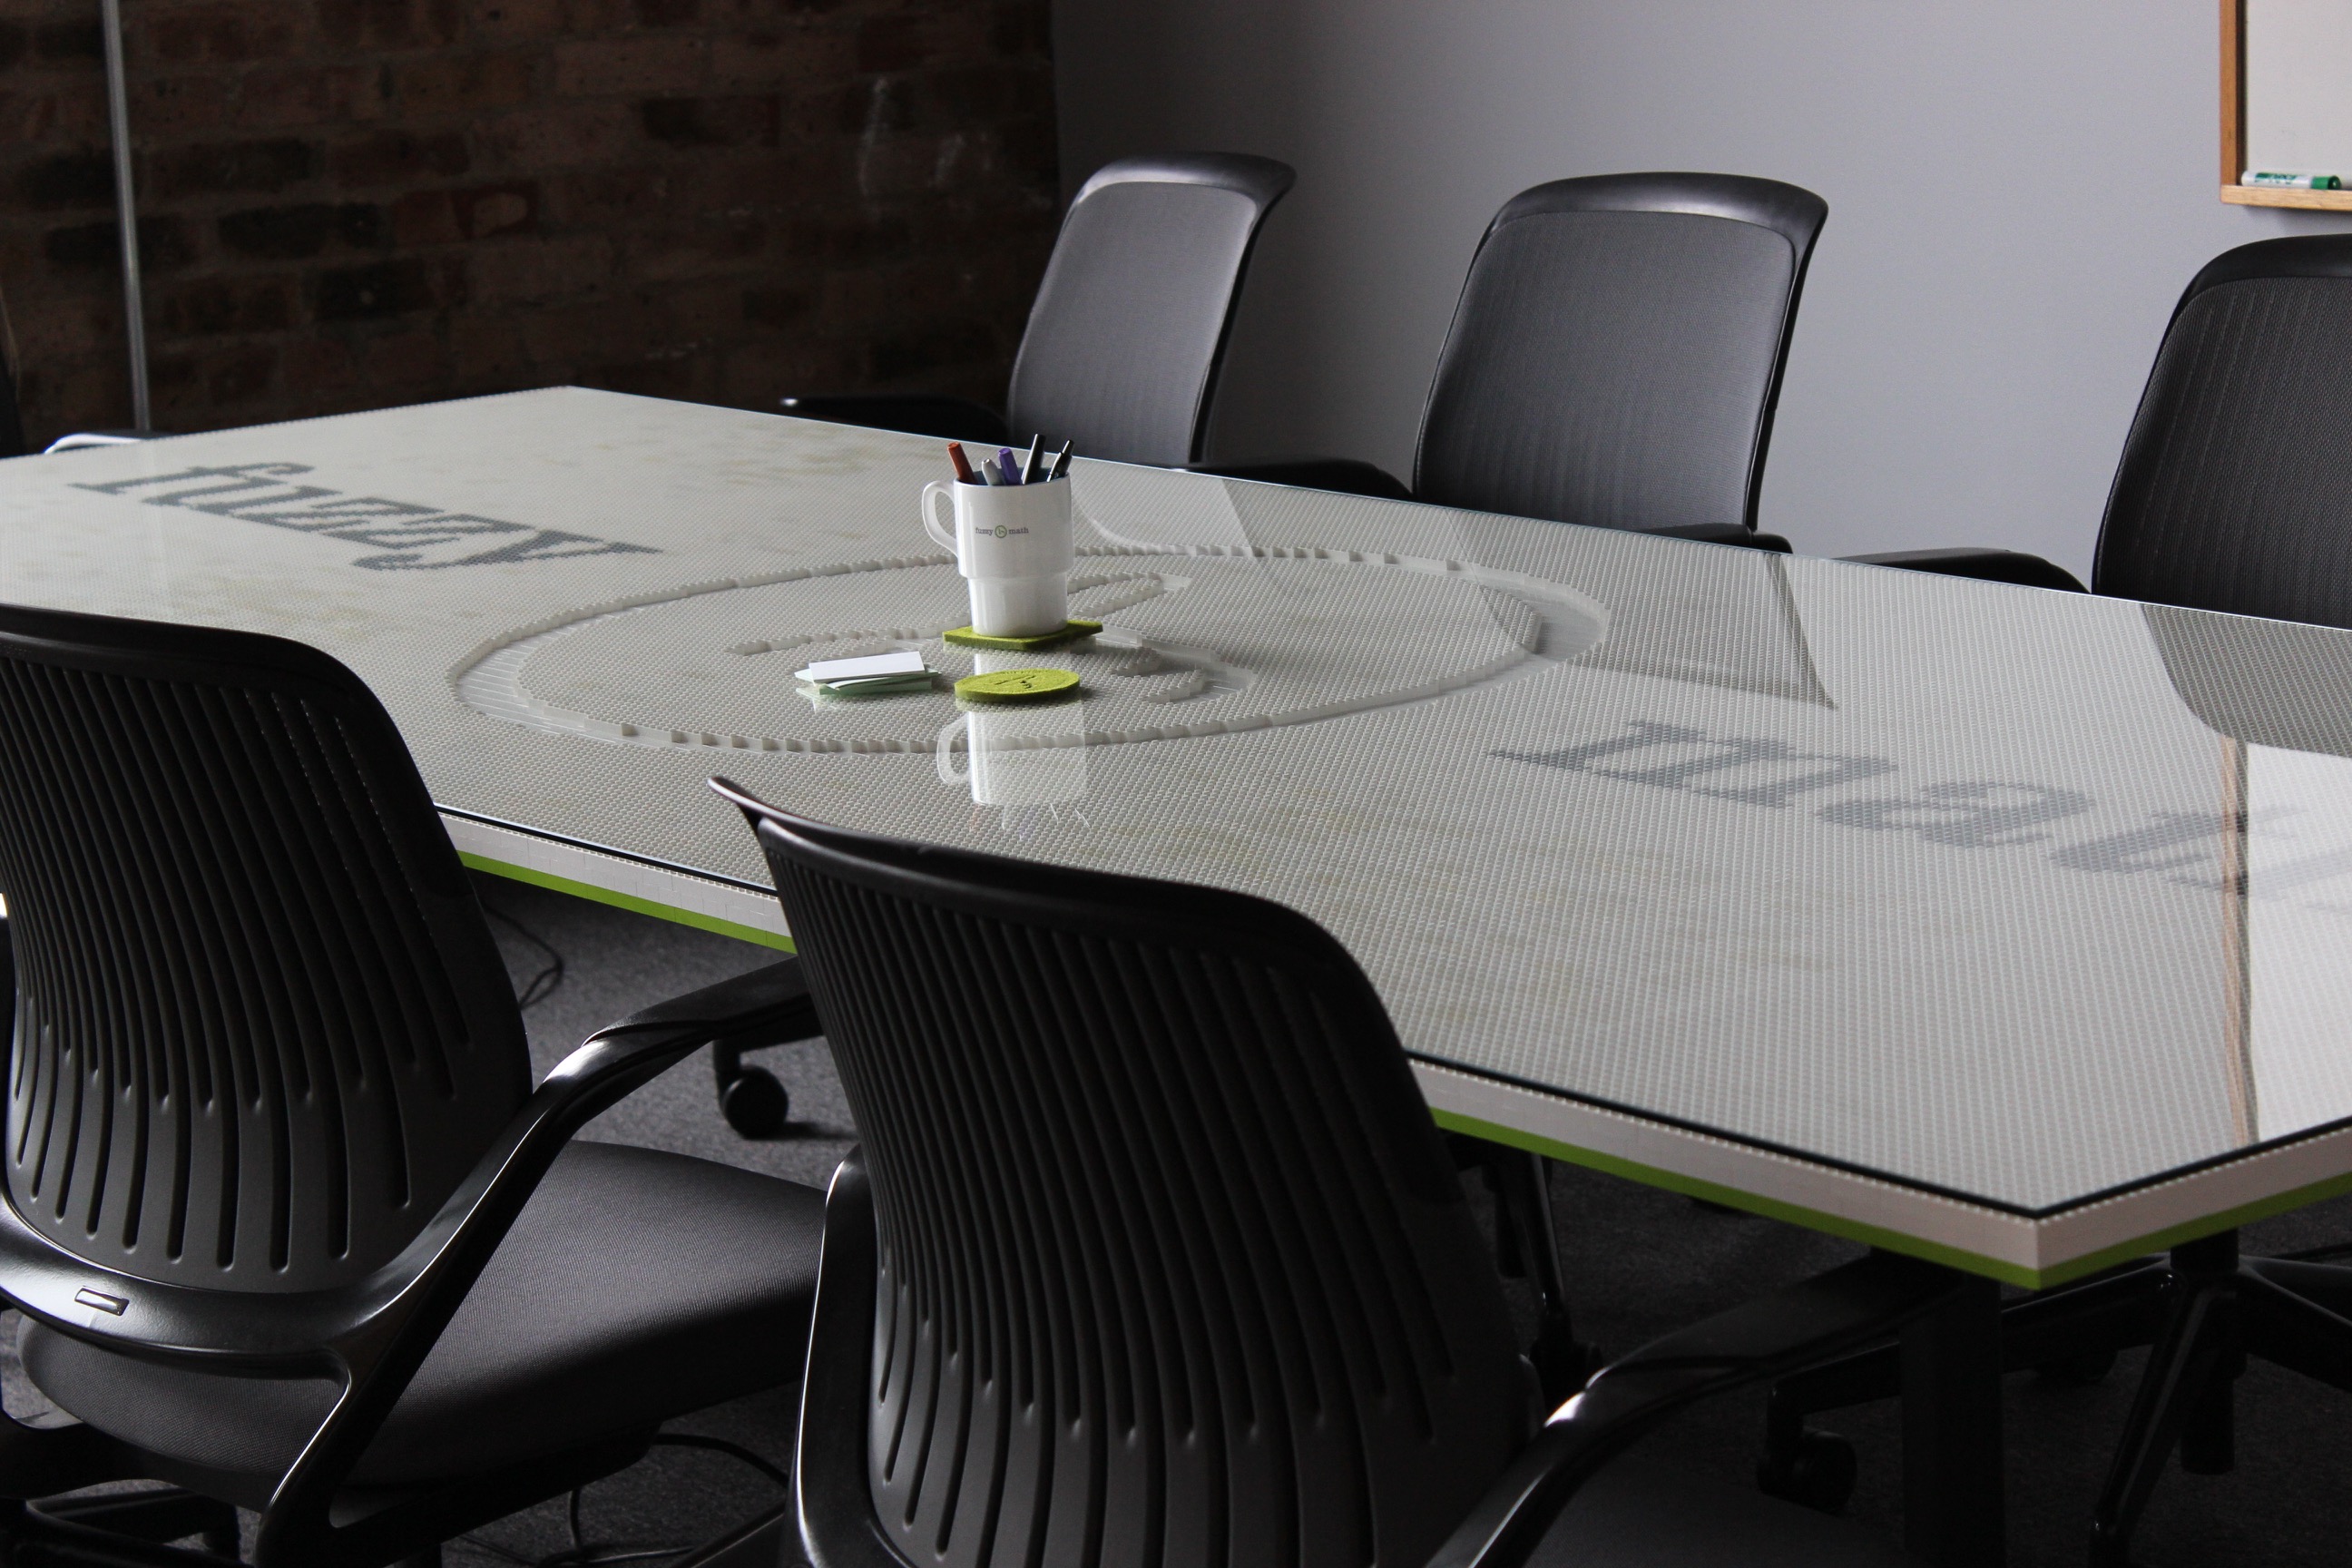
Someone threw out the idea of designing a tabletop featuring our logo, embossed in Legos. The idea was a hit. After all, Legos weren’t ostentatious, were interesting to look at, and unexpected. Our design celebrated the spirit of our common interests (building, puzzle making, and especially letterpress printing.) As a bonus, the table would be a key part of our main conference room, which gets used every day.
Here’s a few notes about what we did and what we learned:
Inspiration and Collaboration
To assist in communicating our design ideas, we utilized an InVision board to start collecting inspiration.
See our InVision Board
A Shortage of Legos
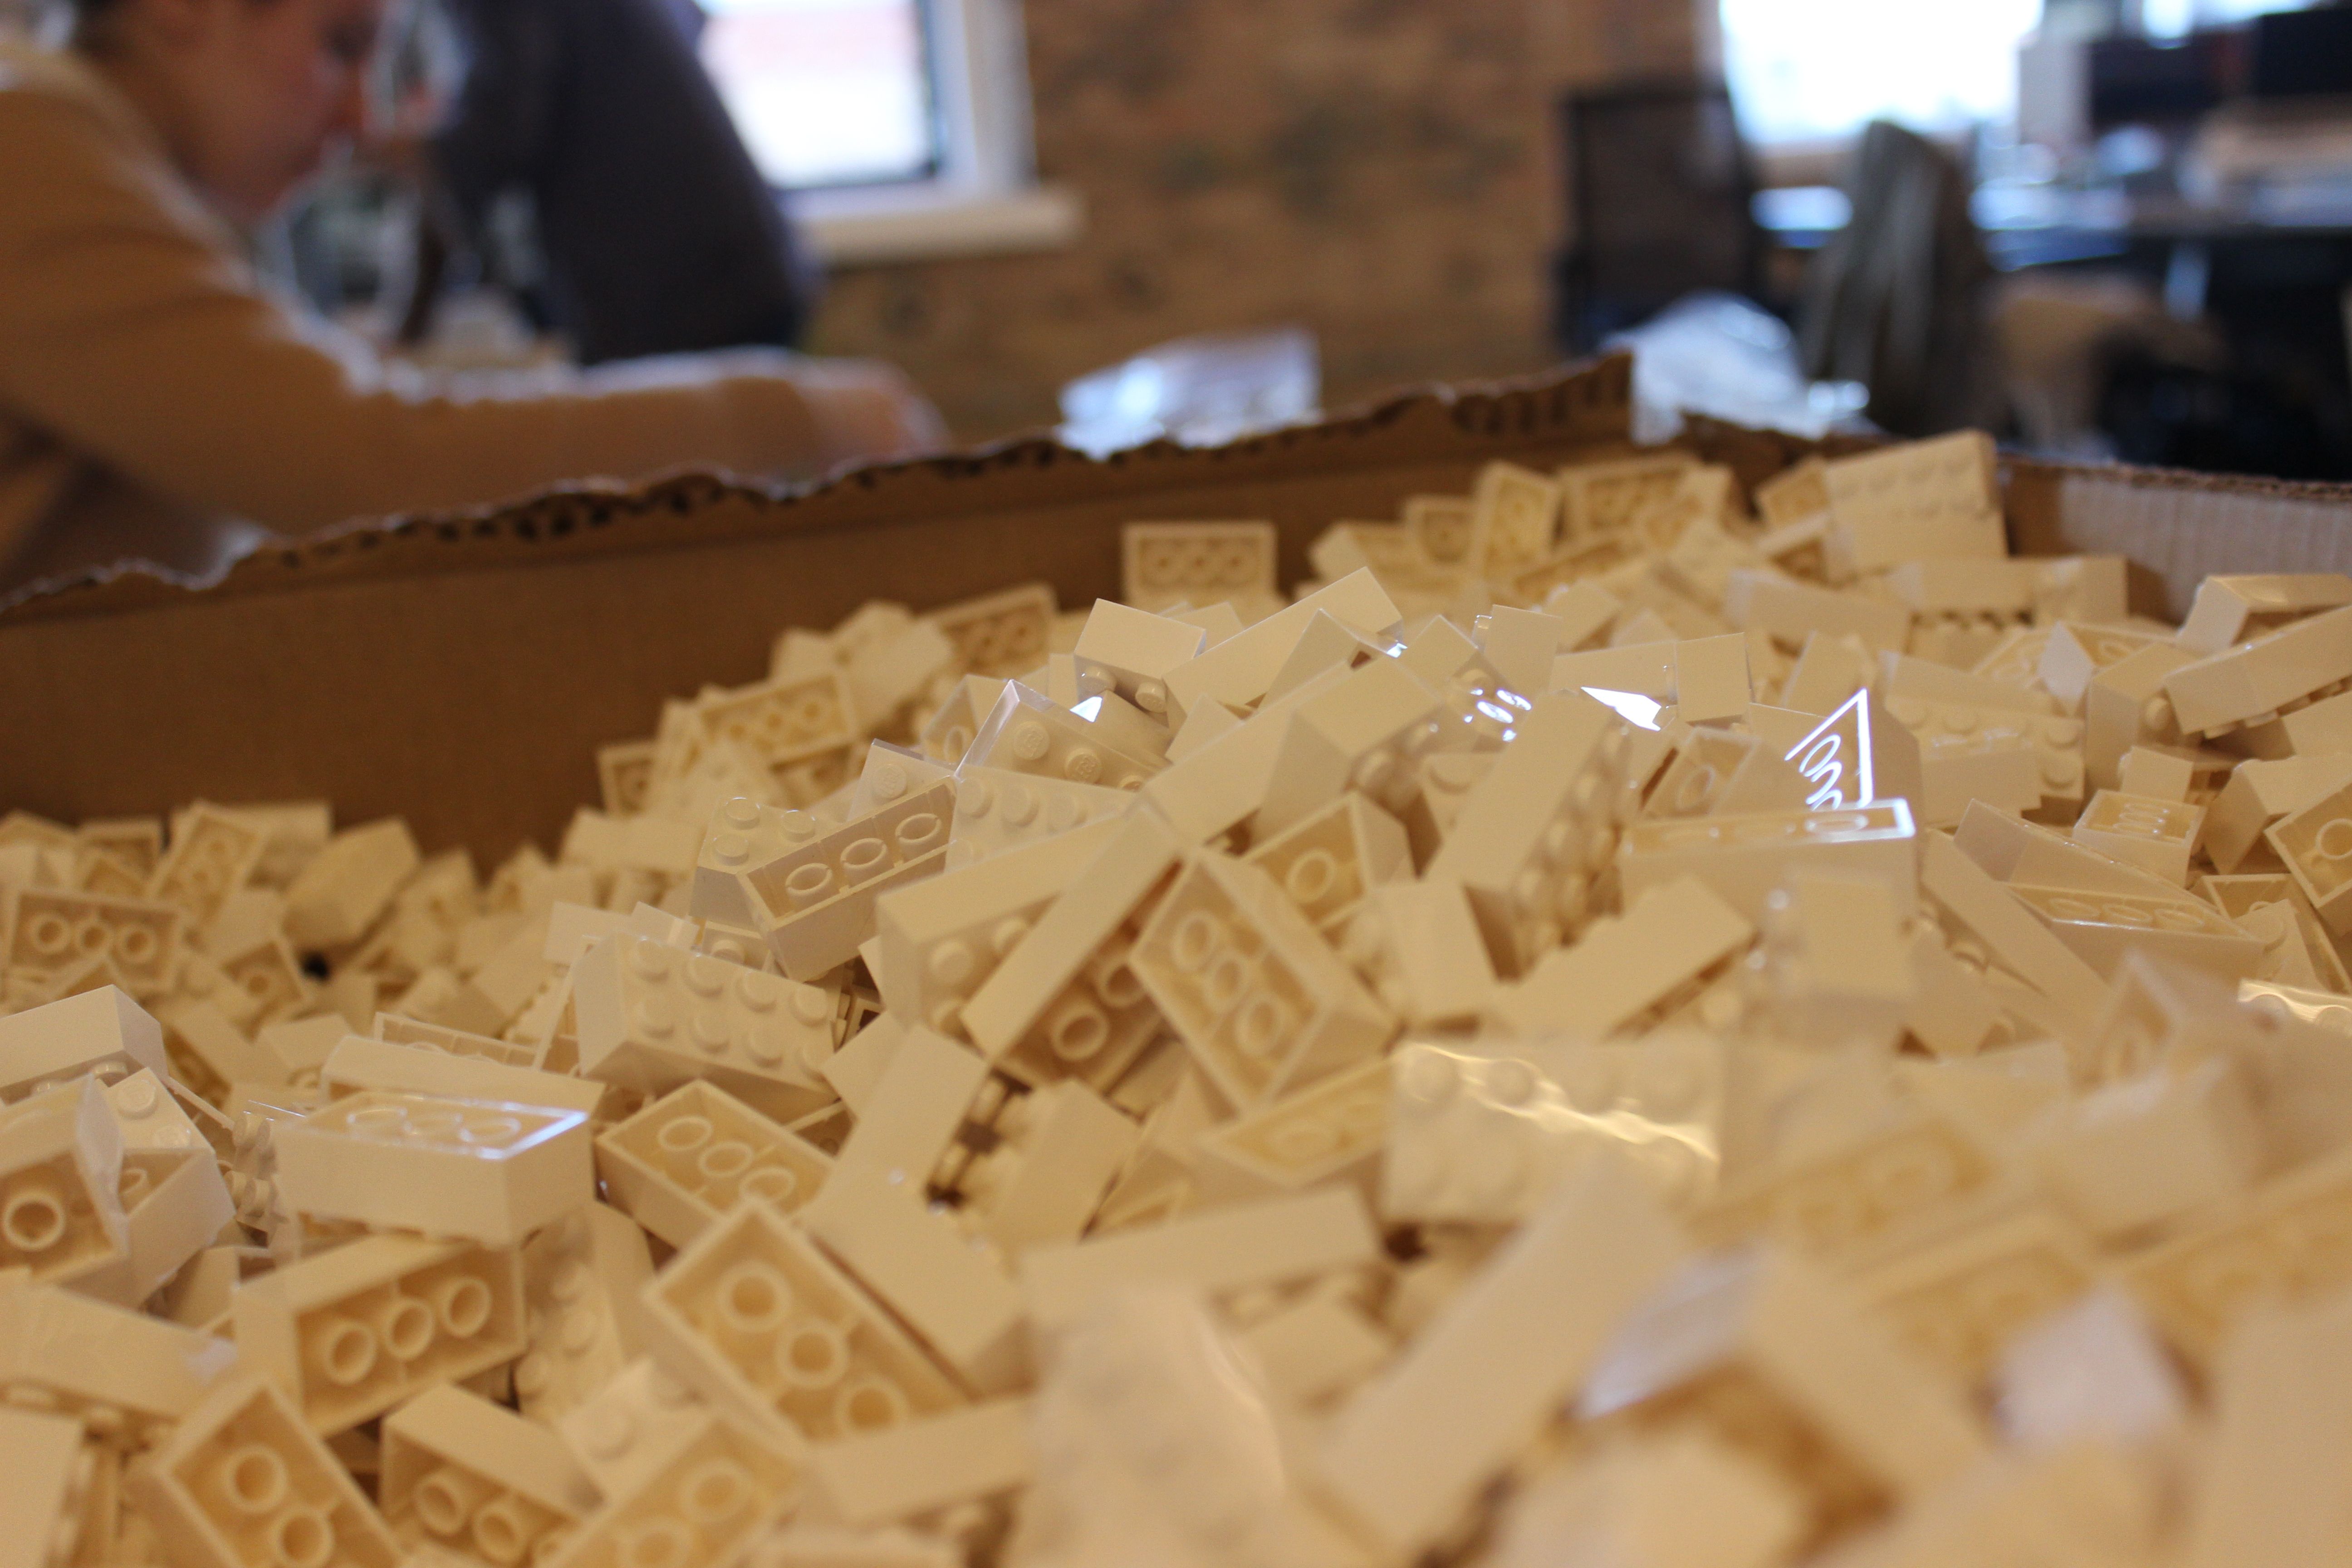
When all the math was said and done, our design required 8000+ Legos. This was where our plan first hit a wall. Stores only let you buy so many bricks, and Germany was the only place that had enough for our table. It is really difficult to buy Legos in bulk, so we bought them in batches. If you’re trying to create a large scale Lego project, you’re going to have to diversify your block buying sources.
Measure Twice, Build Once
The planning took twice as long as the building process did. And that’s ok! All of the work we did up front to plan, design, adjust, adjust, adjust, and then order, paid off in the end. Did we mention adjusting?
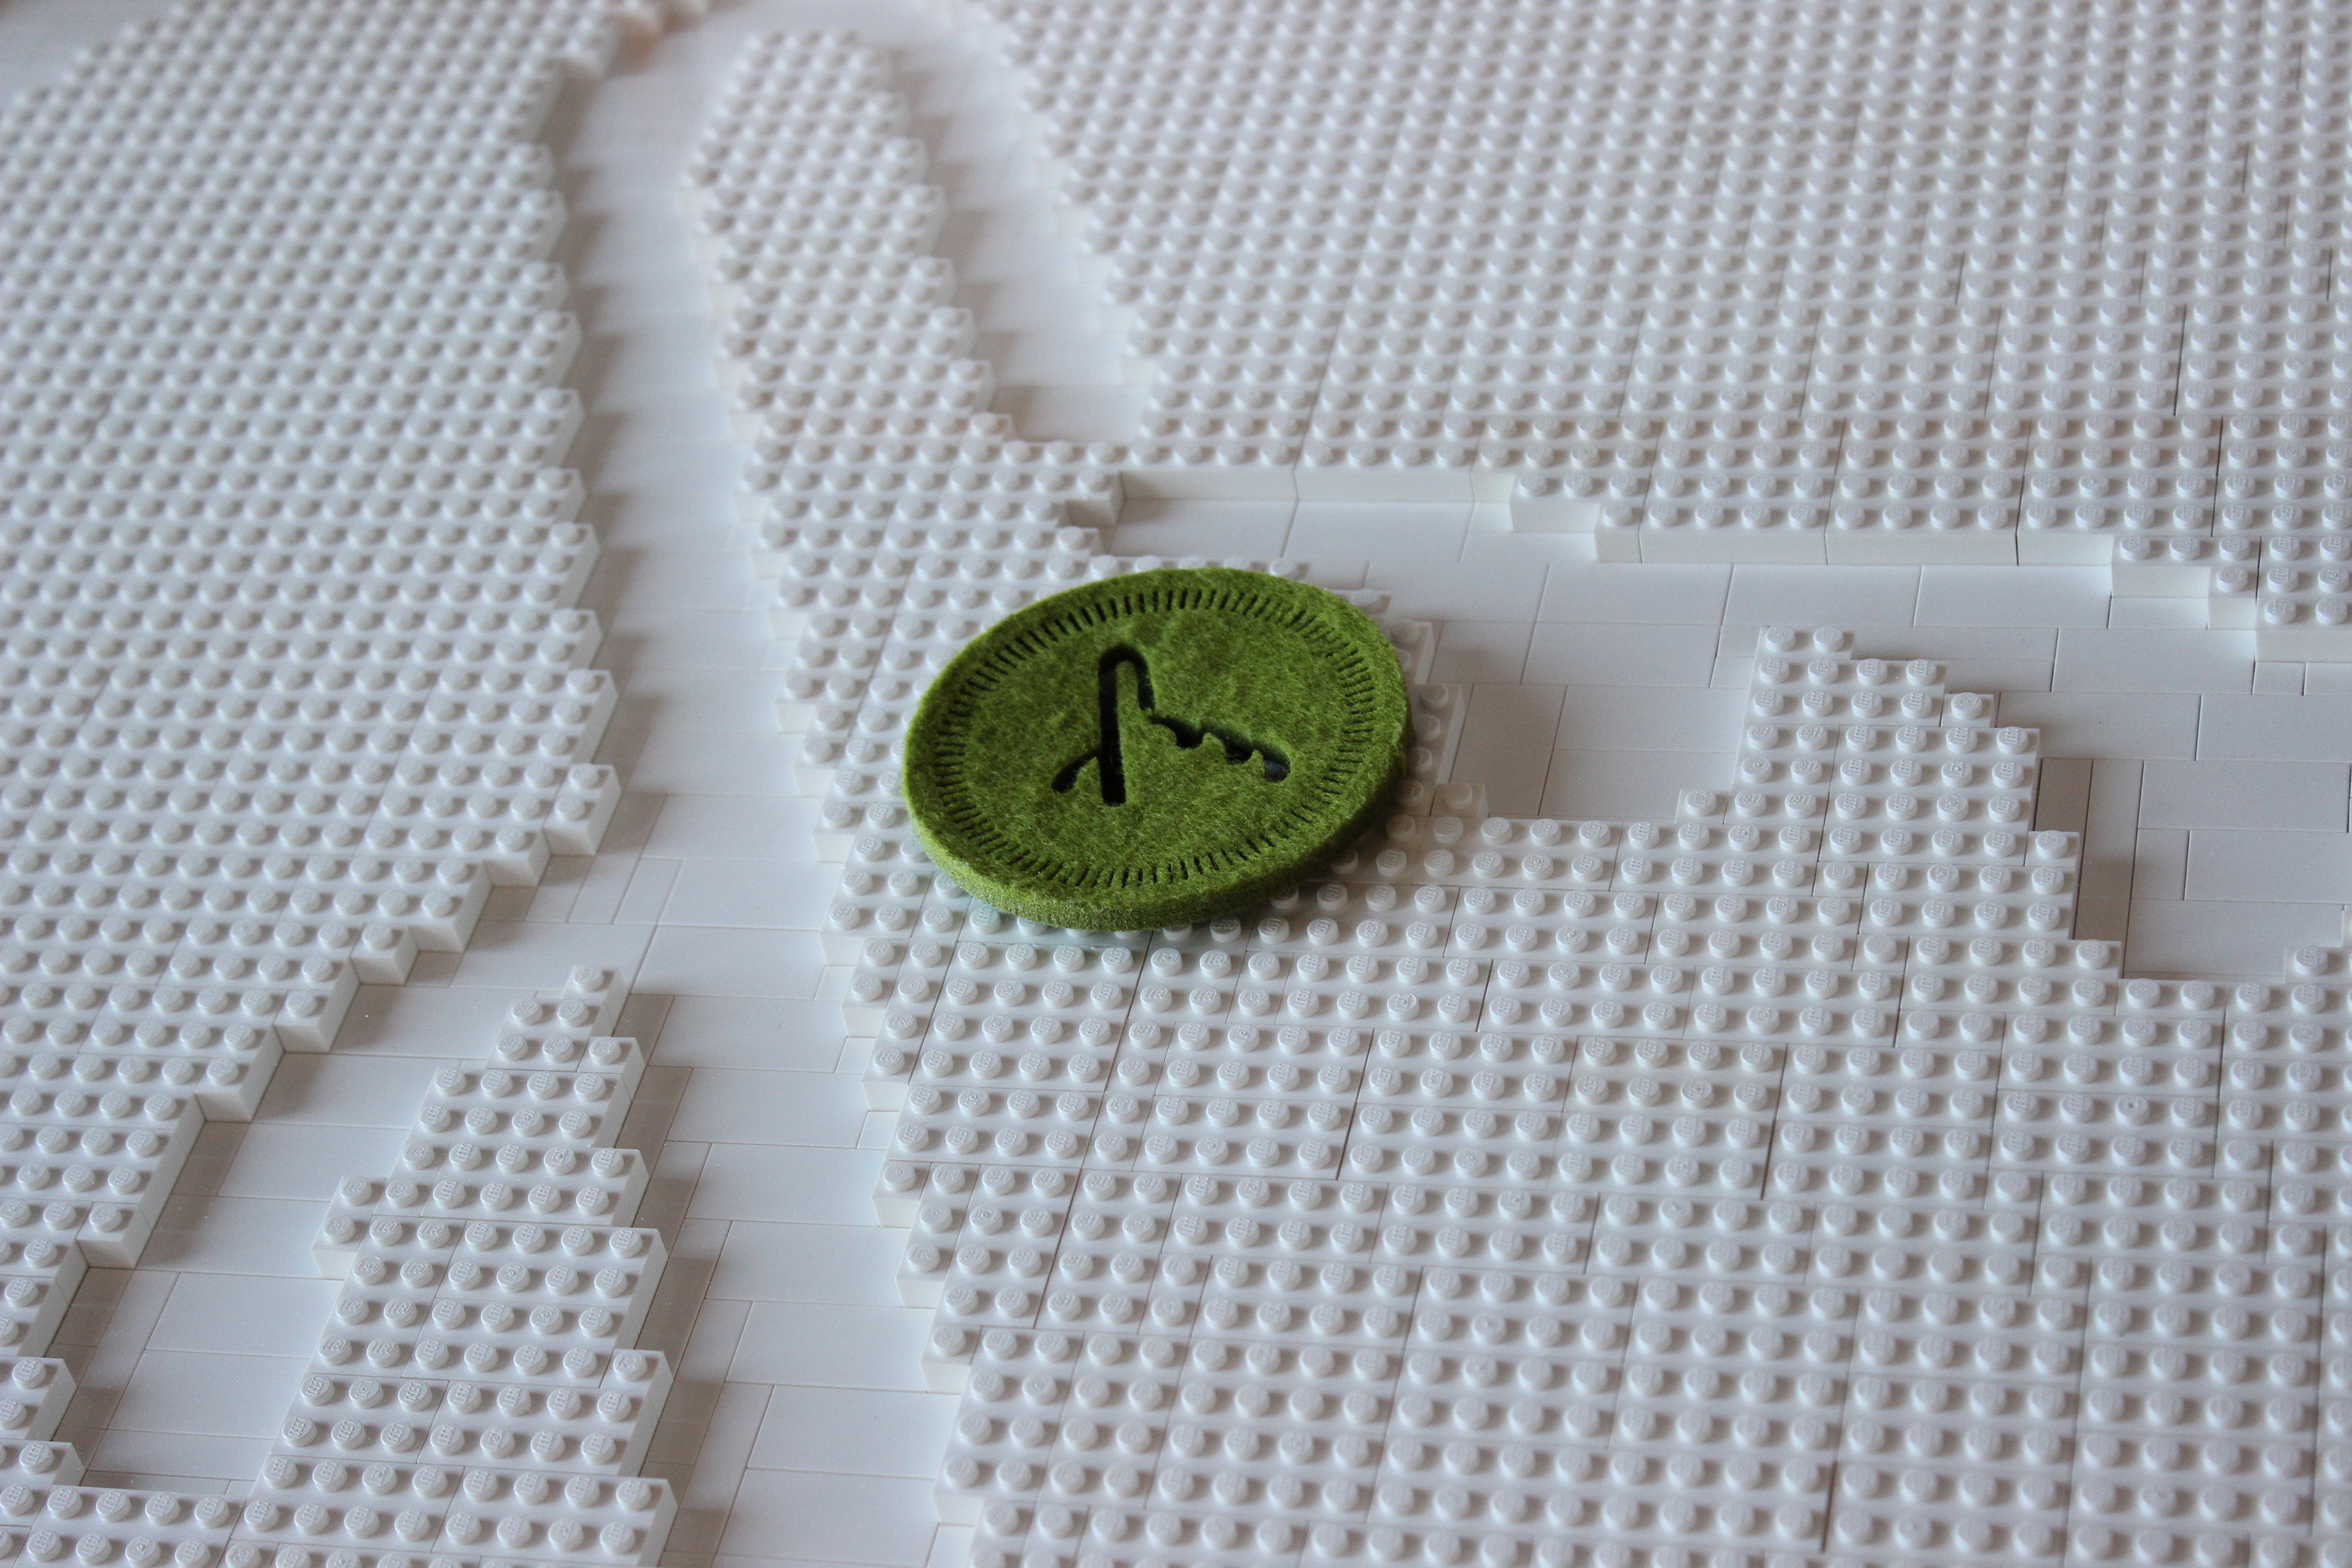
We’re happy to say that the time we spent up front ensured our measurements were correct down to the last detail — including the hole in the middle of the table that allows us access to our phone and computer cords.
Dirty LEGO®? No problem!
Sometimes, you order 1,200 white Legos with the full expectation they will be pristine white and ready to go. Sometimes, you get those bricks and they are closer to yellow than white, and you’re unsure what to do. Enter science!
After a quick Google search, we found out that we could harness the power of the sun and some hydrogen peroxide to break the chemical bond between the Bromine in the fire retardant in the bricks, which was causing the discoloration. After a few days soaking in a pitcher in the window, our bricks were almost perfect again. Well done, science, well done.
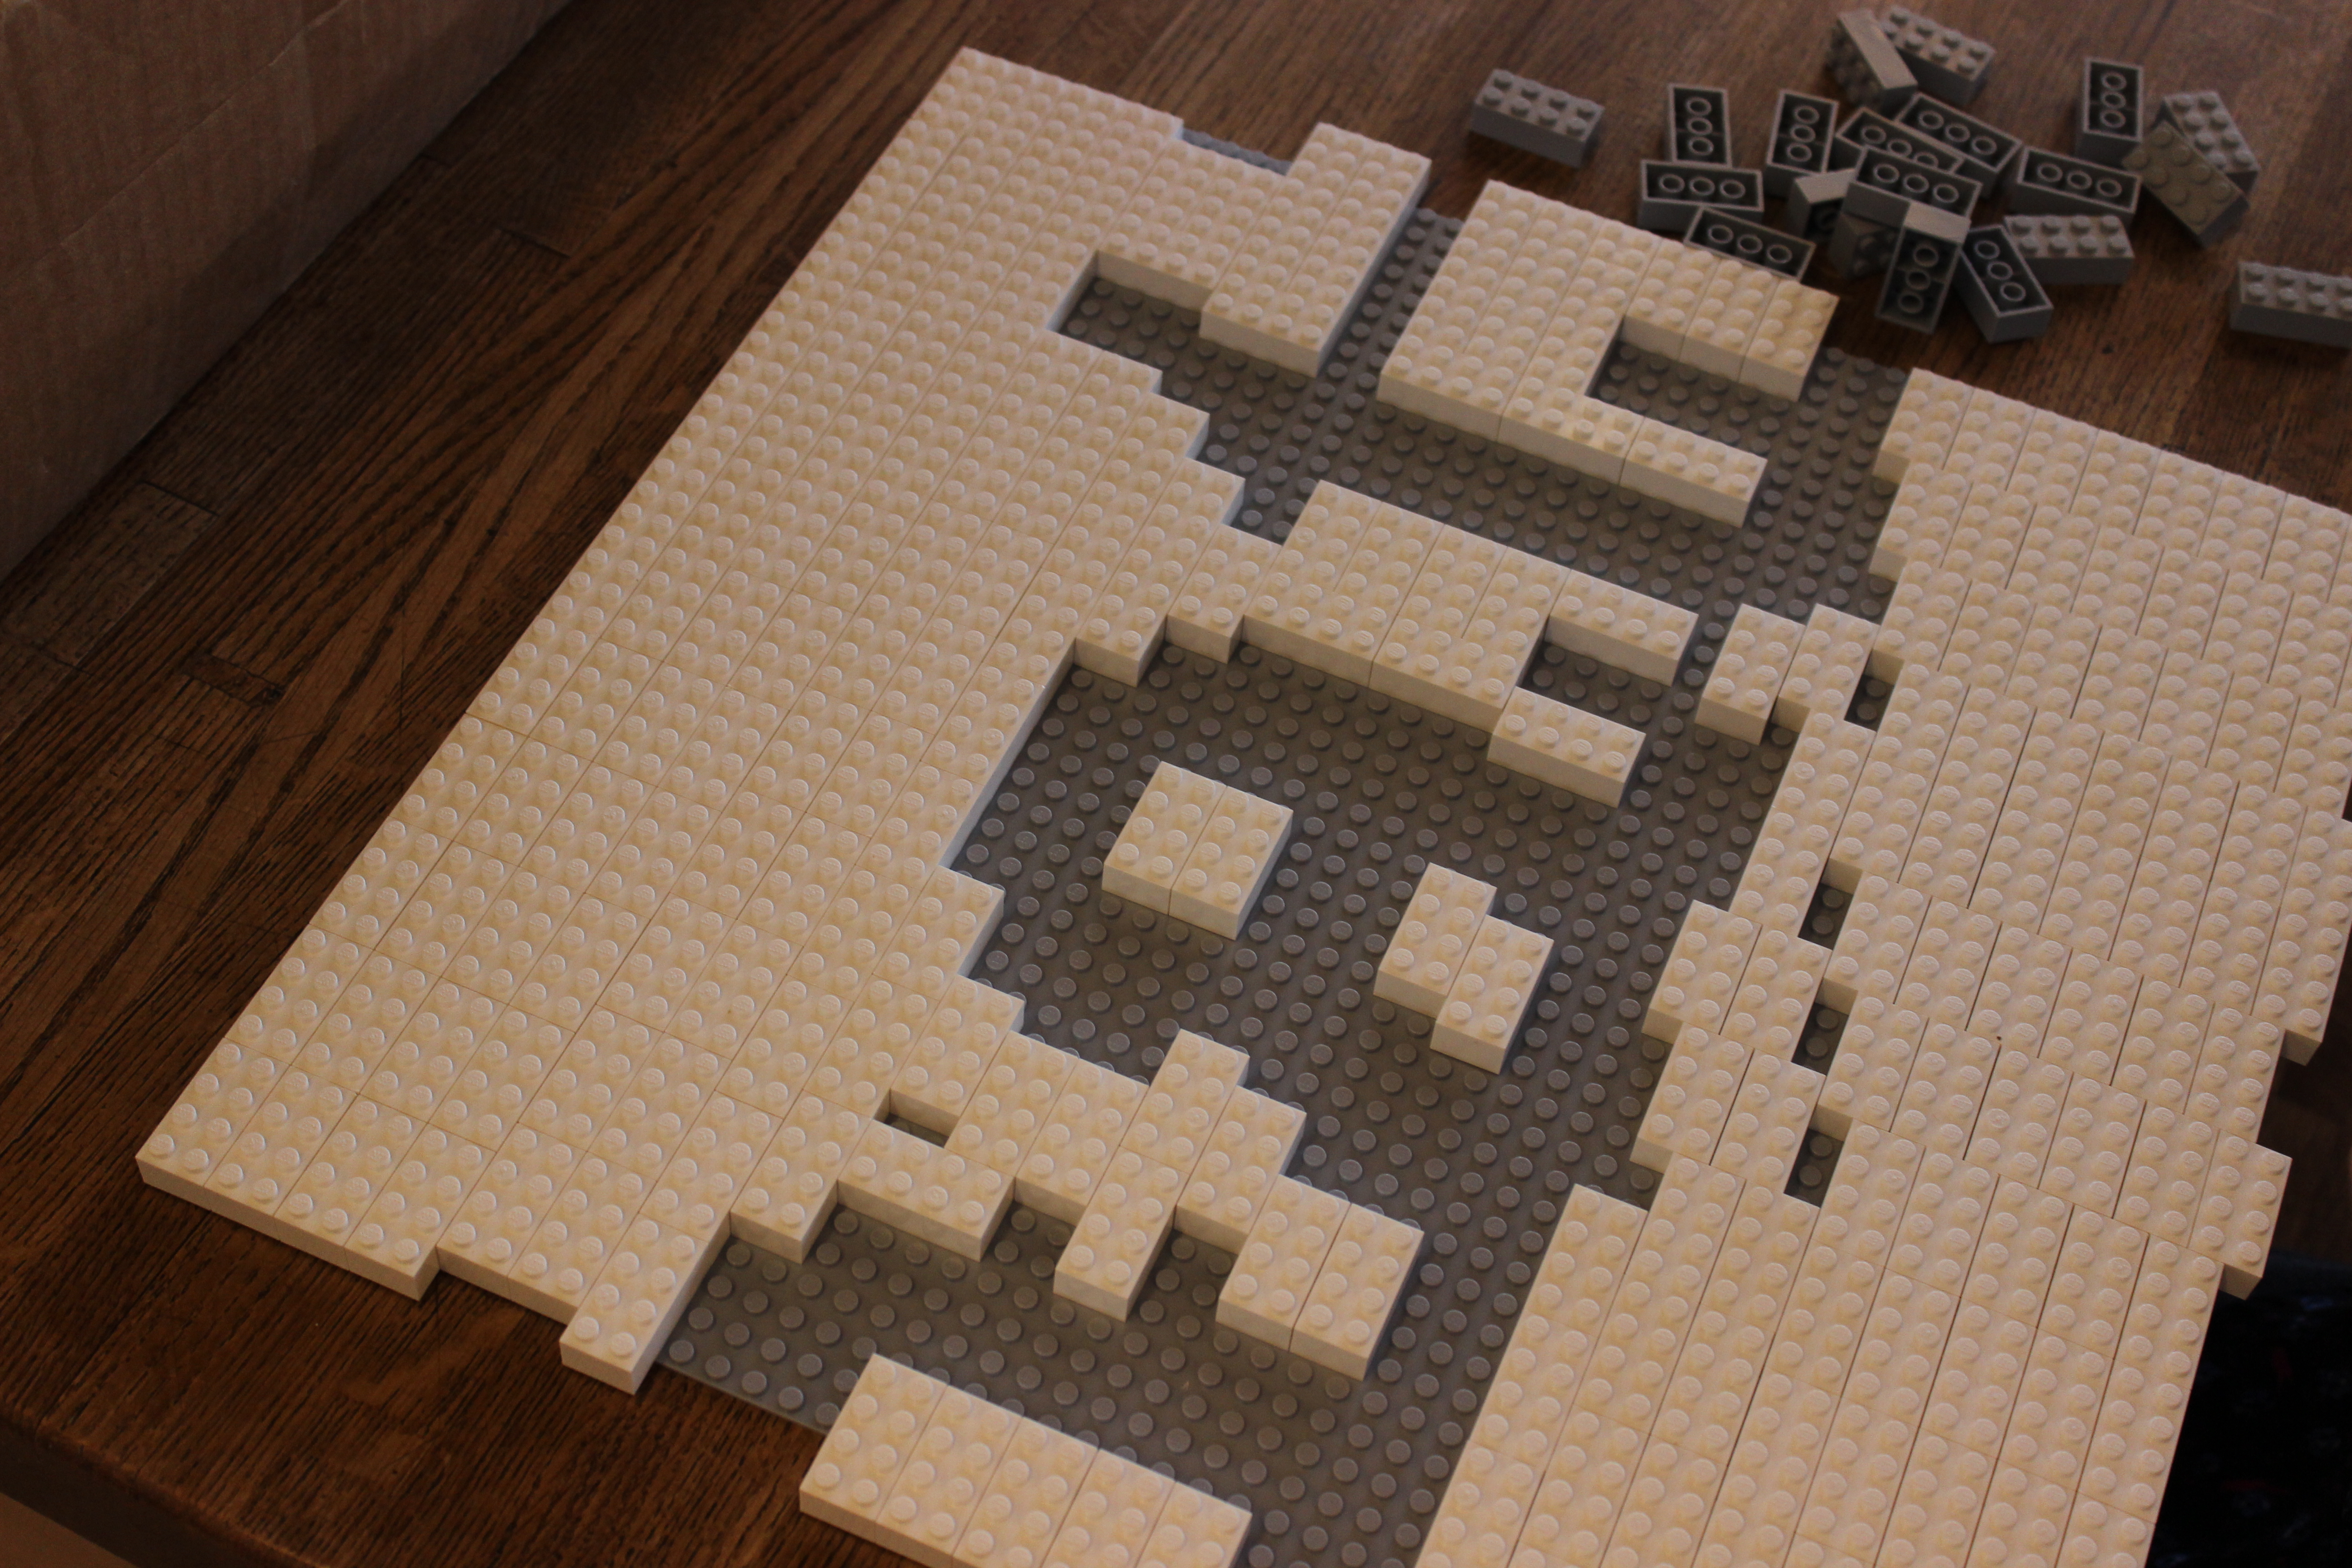
Build it modularly, then put it together
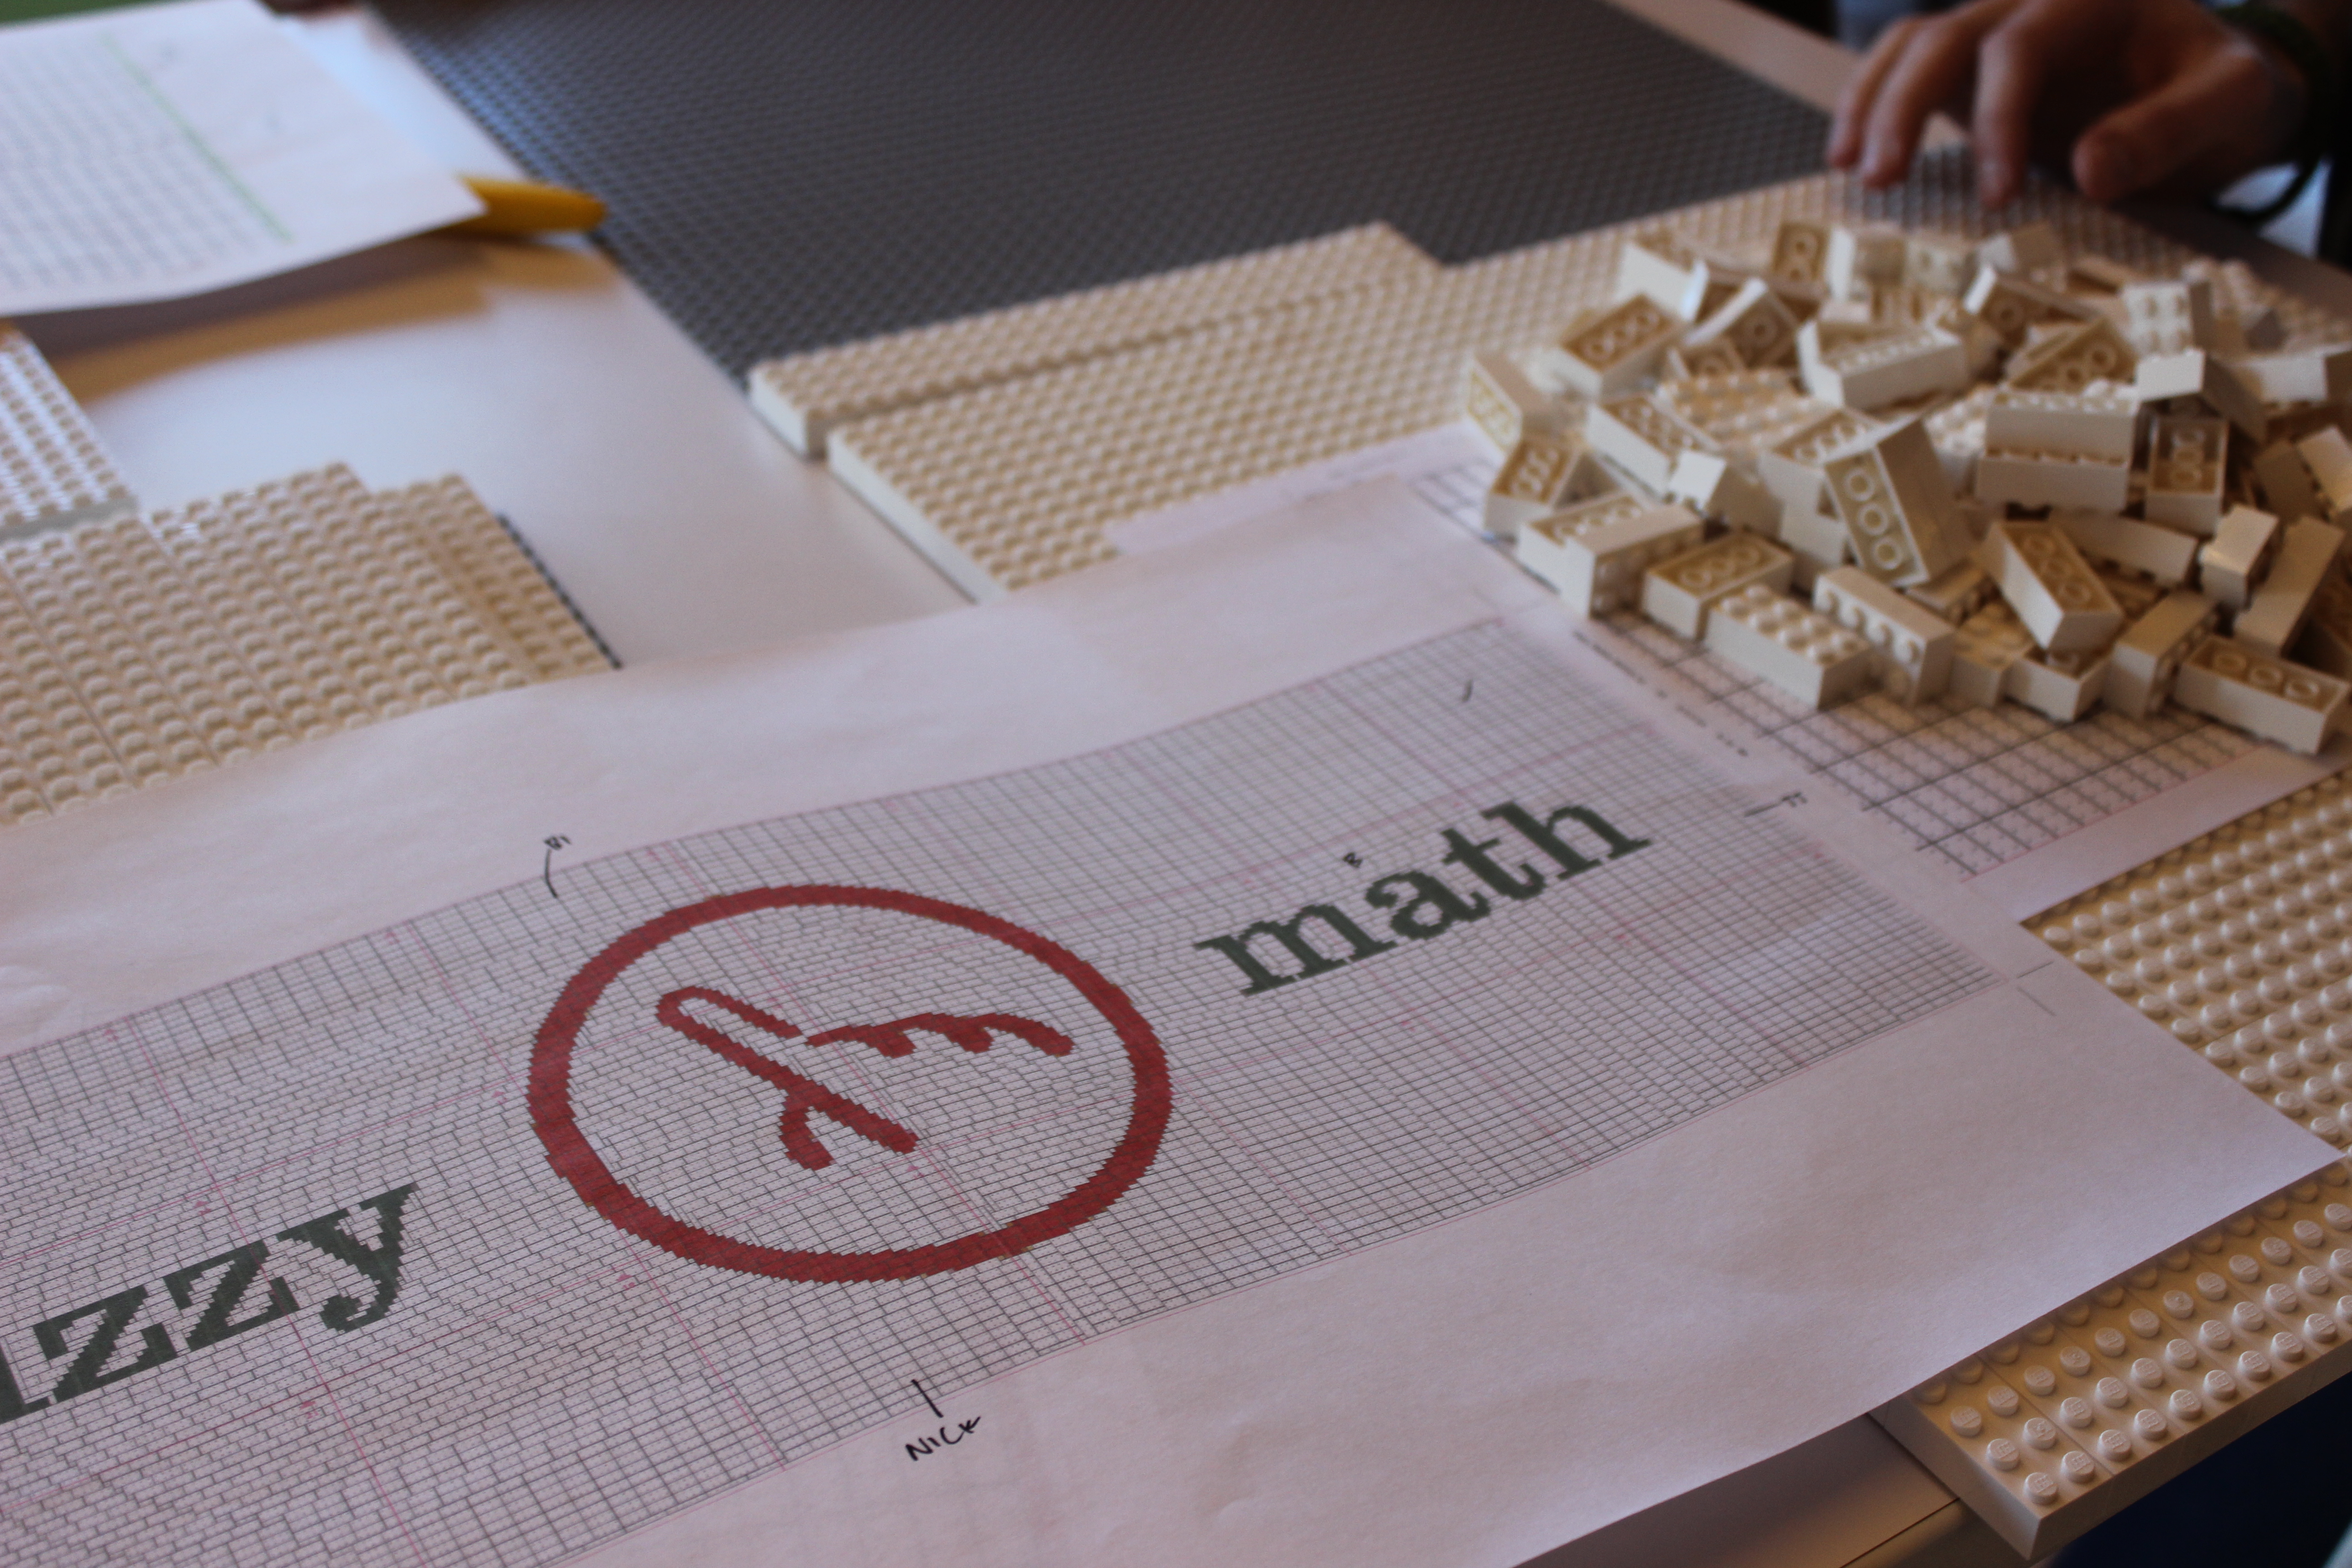
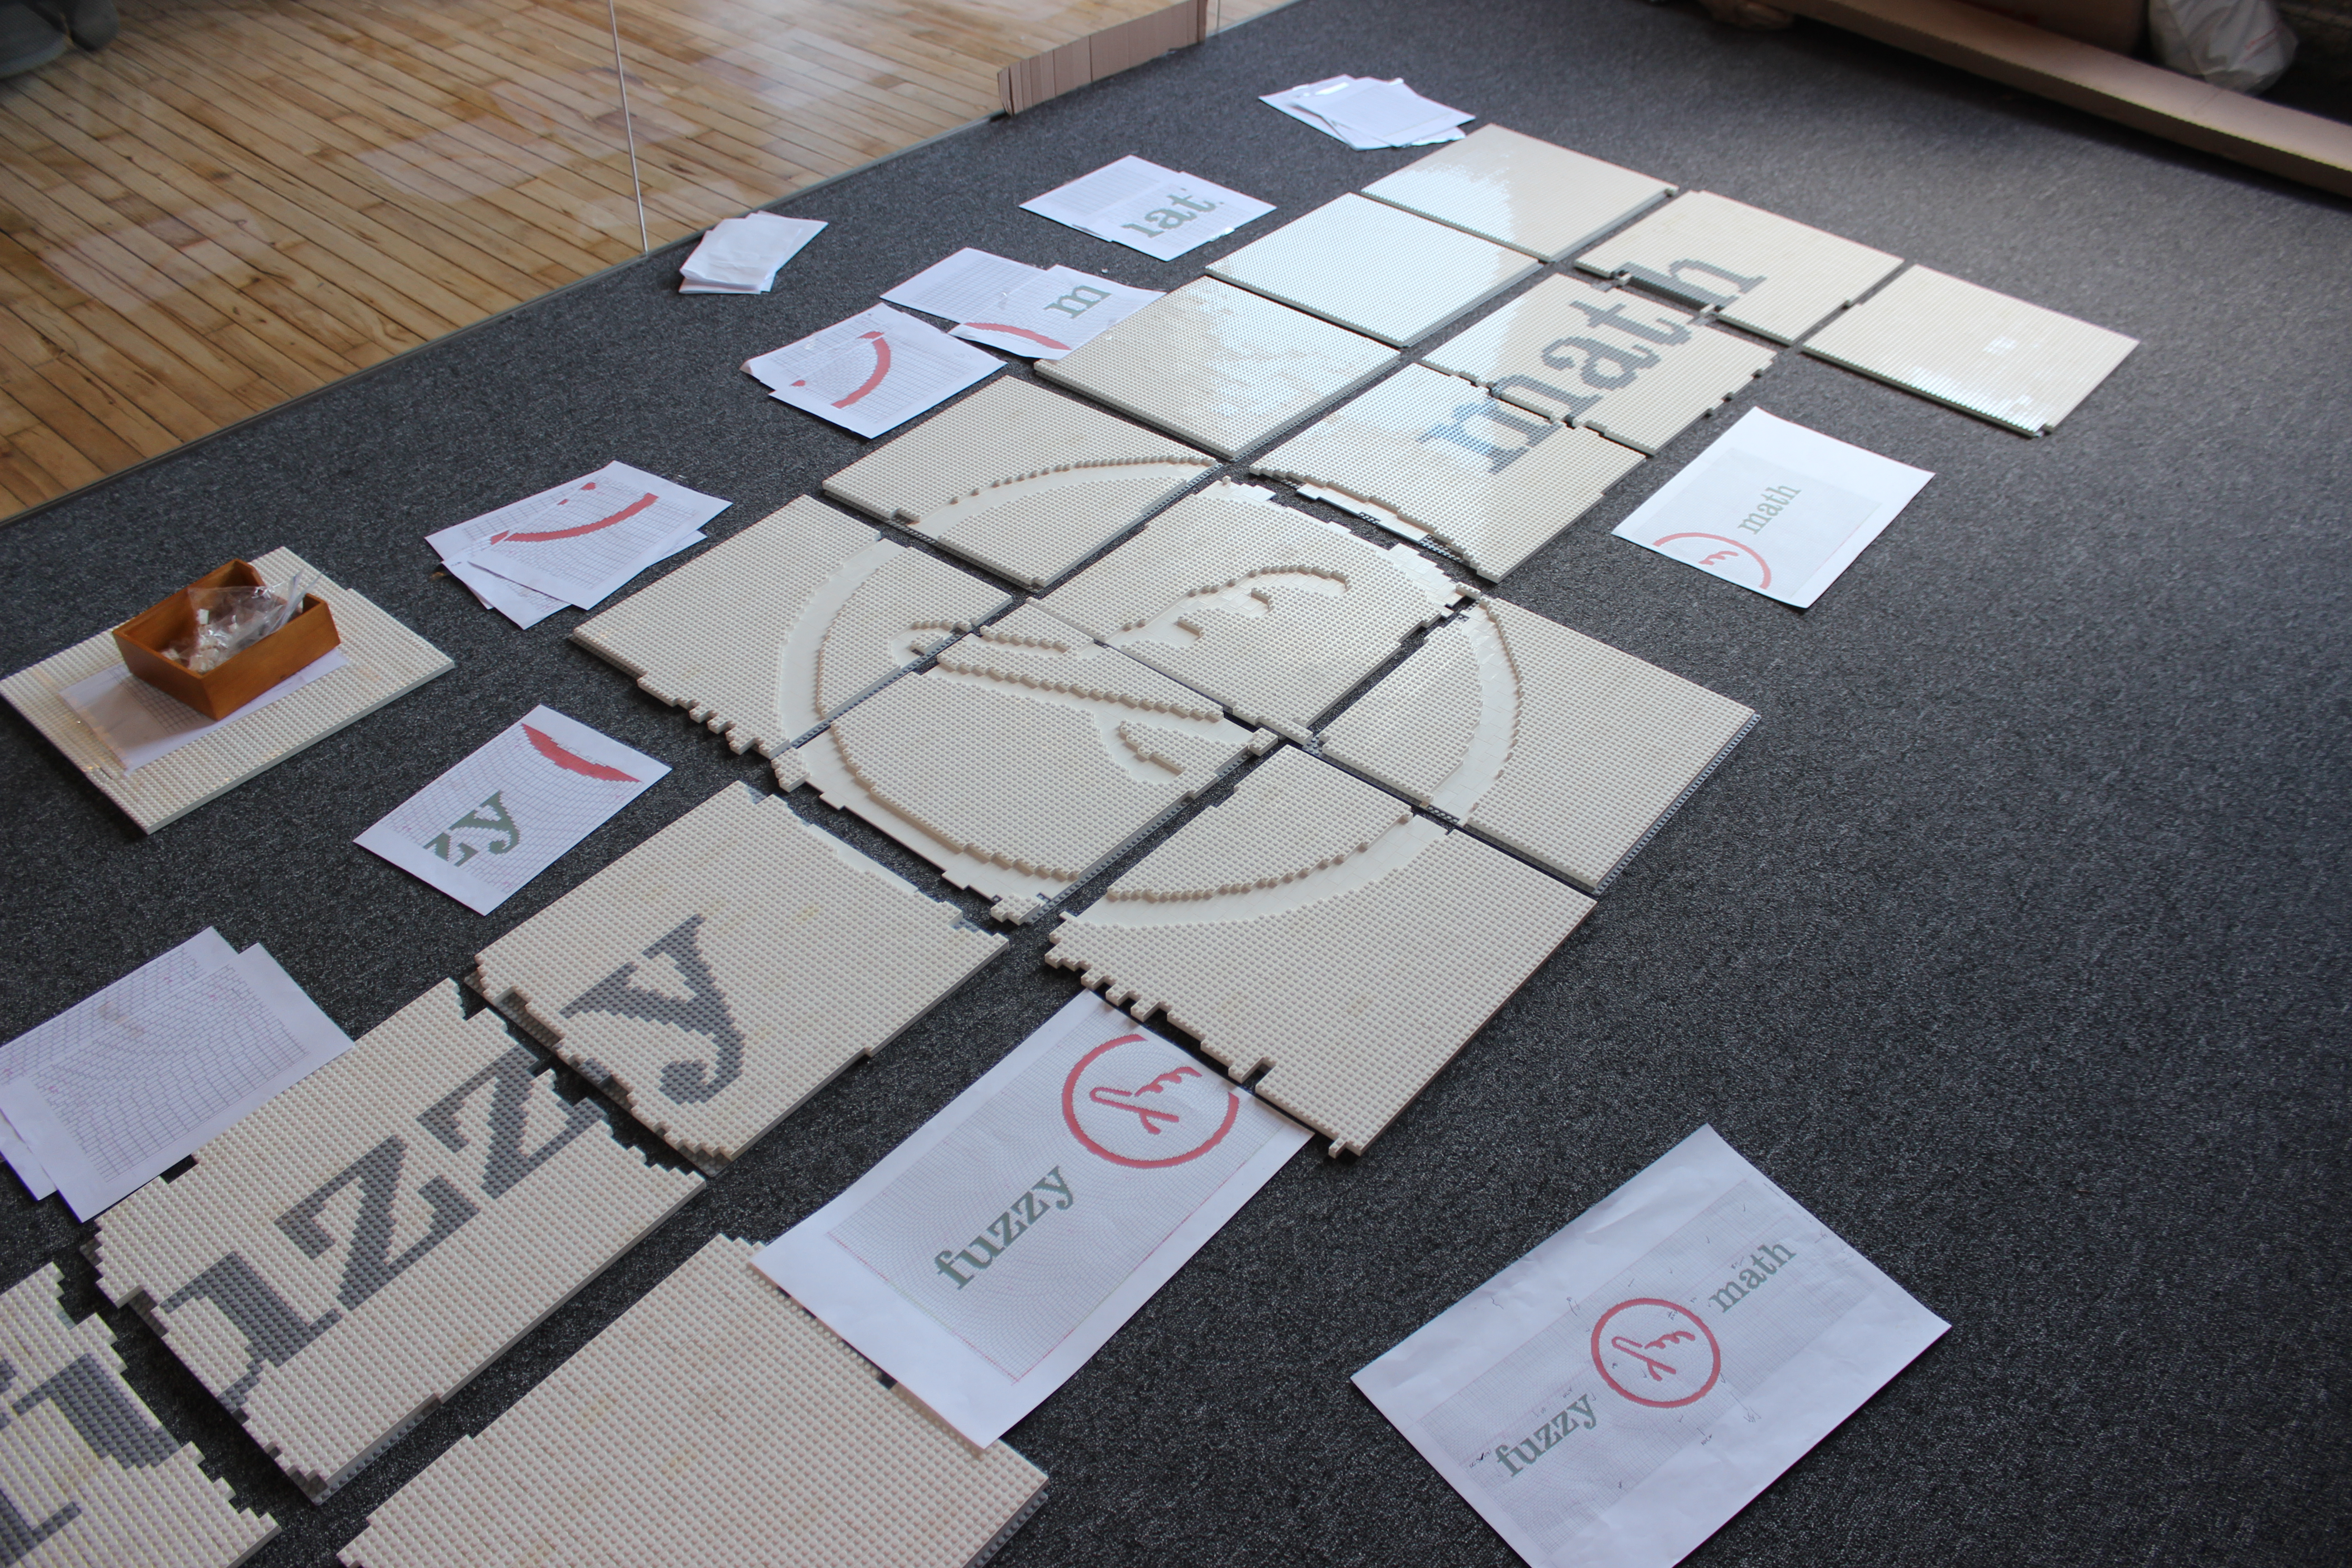
To break the chaos of ten Fuzzy Math employees trying to put together an 8000+ piece puzzle, we broke up the table plans into several rectangular plates. Being able to build the table plate by plate was extremely convenient. Once we were able to print off individual “build sheets” (which told us the Lego types to use and how to configure them) for people to grab and start building, the plates came together at a fantastic pace. Once we had all the plates done, we laid it out on the floor to make sure everything fit together. After that, we were ready for final assembly.
Go with the flow
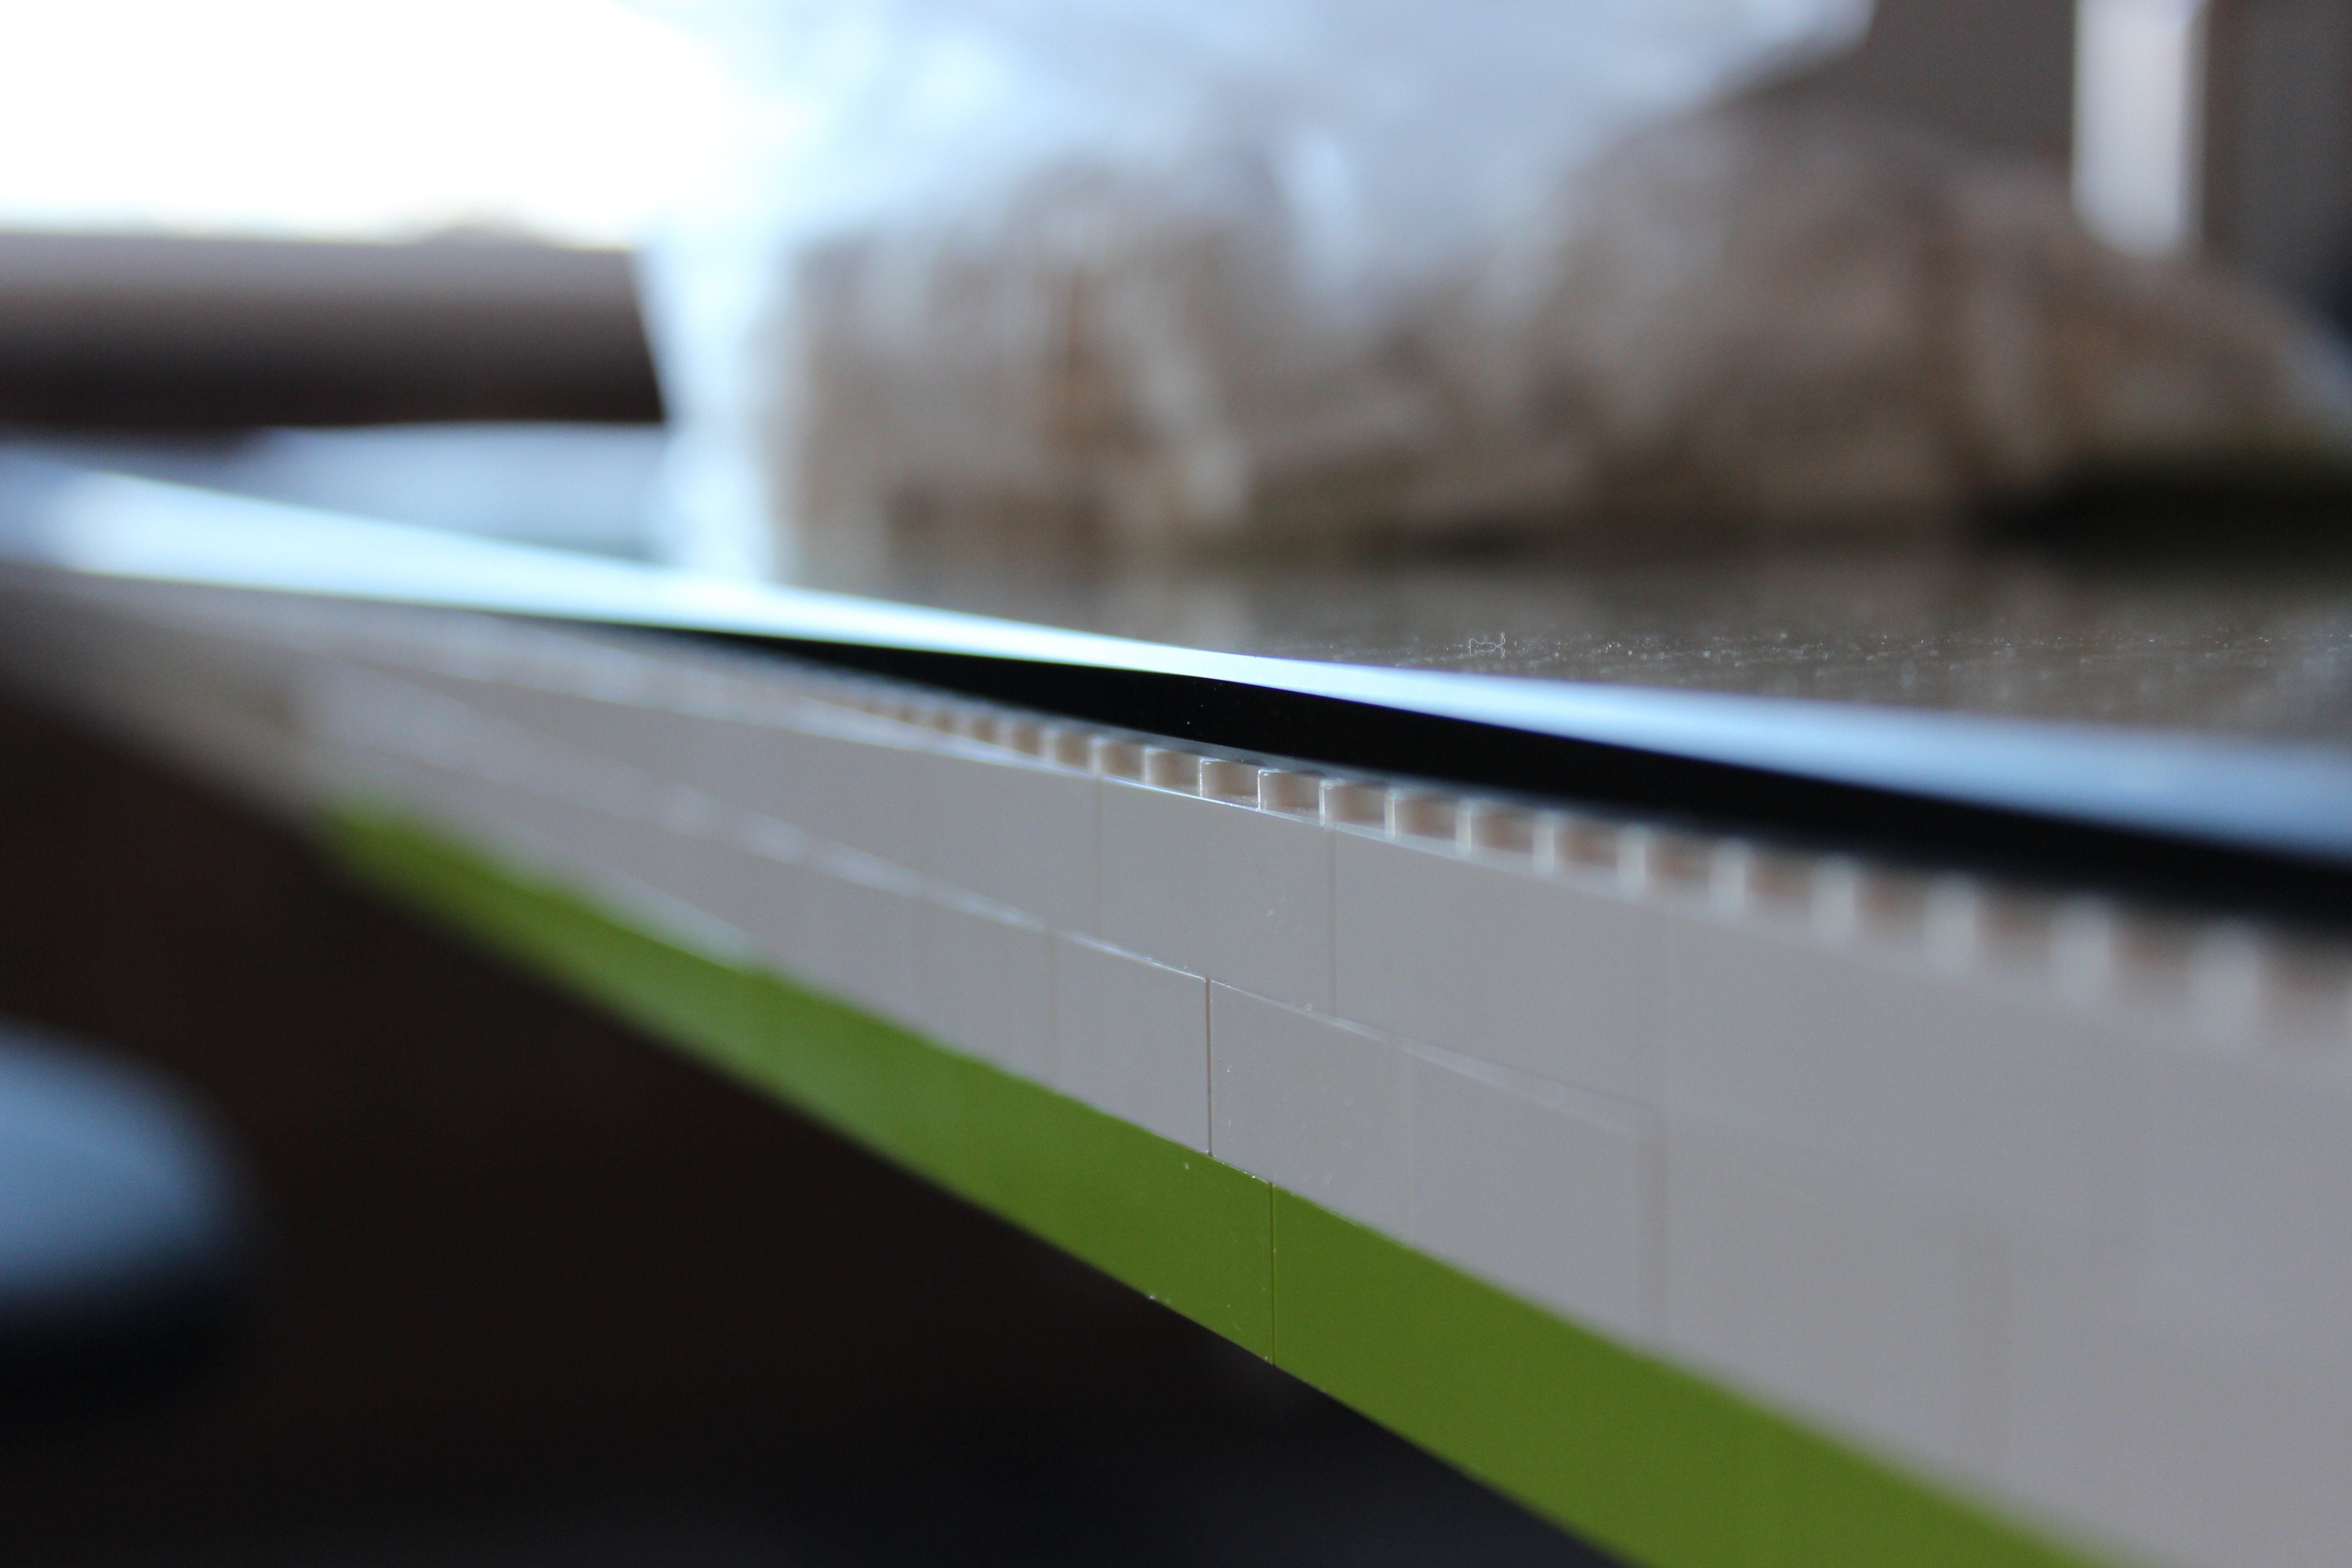
With an 8,000+ puzzle to put together, naturally a few things changed a bit as we were in mid-planning. Cloudy days meant delays in our yellowed bricks getting cleaned, and we had to raid our personal stashes of Legos to find a tiny lime green 1×3 brick. Half (ok, probably closer to 93%) of the fun in building a conference room table out of Legos was the crazy challenges we overcame to make it happen, and how amazing the end result is.
Tools that helped (a lot)
Bricklink – Believe it or not, it’s really hard to buy bulk Legos direct from LEGO®. Bricklink is a marketplace for all things Lego where you can find almost everything you’d need to build a Lego table, or anything else.
LEGO® Unit Converter – We used a unit converter to find out how many bricks were required to build the table. This Lego unit converter made it so much easier to figure out how many bricks we would need, without completely losing our minds. With a ten foot table, eight 48-stud base plates, each 384 studs long, you can see how the math starts to get “fun” really quick.
Brickit
Unfortunately no longer working, a web tool called Brickit was responsible for all the magic. After we had a design nailed down (inset logo and all), Brickit took our image and spit out a detailed view of how to build it with Lego. The only snag we ran into was the fact that Brickit didn’t support something as big as a 10 foot table, so we had to create plans one half at a time. One of the best features of Brickit was the detailed build and shopping list they gave us well, which leads us to the next tool.
Google Spreadsheets
Even with all the magic of the Brickit tool, this project would not have happened without our spreadsheet. Tracking orders (across the globe mind you) and making sure you get enough pieces (plus extras just in case!) is almost impossible without a spreadsheet. While it wasn’t the most complex spreadsheet ever, it definitely saved the day and made sure we have every piece (well, almost) to get the table built in record time.
Final thoughts
Forget traditional team building exercises. You won’t really know your coworkers until you’re nursing sore fingers, elbow deep in Legos. Without a doubt, having a great and flexible team (and beer on tap) was the secret sauce to completing our table. It instilled pride, and serves as a daily reminder that we’re all in it together – and the proof is right under our nose.
Just make sure you don’t drop any on the ground. Don’t say we didn’t warn you!
And remember, respect the rectangle.